RFID with the Proxmark3
Contents
The install
Start your install on Ubuntu with your proxmark not plugged into your PC.
The guide below is a composite of:
https://github.com/RfidResearchGroup/proxmark3
You must remove modem manager to eliminate the chance of bricking your Proxmark
sudo apt remove modemmanager
Update the packages list
sudo apt-get update
Install the requirements
sudo apt-get install --no-install-recommends git ca-certificates build-essential pkg-config libreadline-dev gcc-arm-none-eabi libnewlib-dev qtbase5-dev libbz2-dev libbluetooth-dev
Get the Proxmark git repo
git clone https://github.com/RfidResearchGroup/proxmark3.git
Move into the directory with:
cd proxmark3
Then:
sudo make udev
Plug it in and:
sudo dmesg | grep -i USB
to check that it is installed. You can also
lsusb Get permissions to use /dev/ttyACM0 by adding the current user to the proper group to get permission to use /dev/ttyACM0.
This step can be done from the RRG/Iceman Proxmark3 repo with:
make accessrights
Connecting to the Proxmark3
Plug in the Proxmark3 and:
sudo dmesg | grep -i USB
to check that it is installed
Using the Proxmark 3
Then you can start proxmark with
proxmark3 /dev/ttyACM0
Have a play with the following commands:
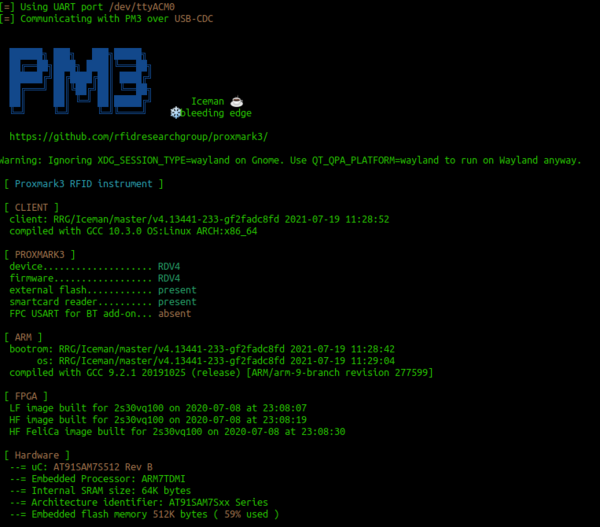
[usb] pm3 --> hw status
[usb] pm3 --> hw version
[usb] pm3 --> hw tune
Run the following to make sure your card is prepared:
[usb] pm3 --> script run init_rdv4
The following command upgrades your device sim module firmware. Don't not turn off your device during the execution of this command!! Even its a quite fast command you should be warned. You may brick it if you interrupt it.
[usb] pm3 --> smart upgrade -f /usr/local/share/proxmark3/firmware/sim011.bin
To get an overview of the available commands for LF RFID and HF RFID:
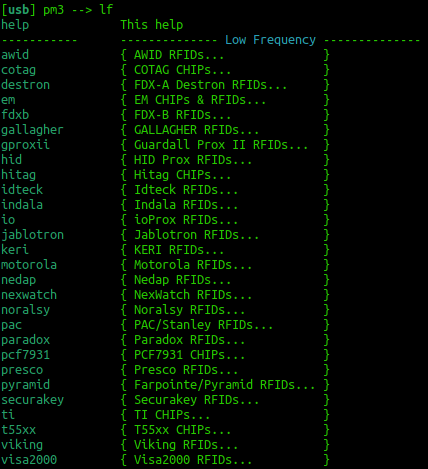
[usb] pm3 --> lf
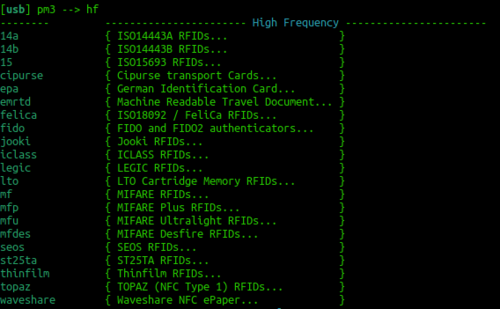
[usb] pm3 --> hf
To search quickly for known LF or HF tags:
[usb] pm3 --> lf search
[usb] pm3 --> hf search
Tune for LF and HF
If you are having trouble getting a read try
lf tune --mix
OR
hf tune --mix
Here you are looking for the card to "couple". So the lower the voltage drops the more the RFID card is drawing from the system and the better the read you will get.
HF Mifare
High Frequency Mifare cards are also super common. You should be able to detect one with the standard:
hf search
If you find a tag record what sort of tag you think it could be. Try just typing:
hf
This should reveal all the different types of cards that can be read. Try to correlate the previous info from hf search against the info that you see in the image to the right. You could now try a:
hf 14a info
If that reveals that it is a gen 1a then you could consider executing a command frame the following block:
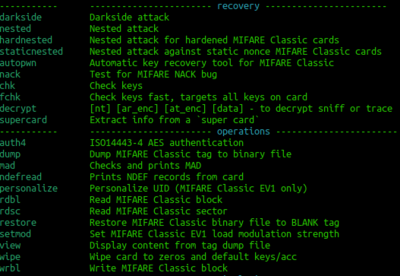
Probably a more generic set of commands are those that sit under the operations OR Recovery banners. In theory, these should work on all the Mifare cards.
You could also read the entire card with:
pm3 --> hf mf autopwn
You would then open a separate terminal and:
xxd hf-mf-ABCEDFIG-dump.bin
This should provide you with the binary output.
LF T5577 card
If you think this could be a T55xx you can run a:
lf t55 detect
This should return the type of card. You can then examine the datasheet here: http://ww1.microchip.com/downloads/en/DeviceDoc/ATA5577C-Read-Write-LF-RFID-IDIC-100-to-150-kHz-Data-Sheet-DS70005357B.pdf
You can try to read all of the blocks with the following command:
lf t55xx read -b 0
You should keep incrementing the block number so that you can pull out all of the data.


