Obtaining a Linux Environment
This lab is designed to get you up and running in a Linux environment as quickly as possible. In this week the goal is to get the Linux environment on your Windows or OSX operating system running on the computer sitting in front of you. Internal South St students are encouraged to do this in the labs, and then go home and re-do the task on their own computer. External students, as well as Singapore and Dubai based students, will complete this on their own computer in class.
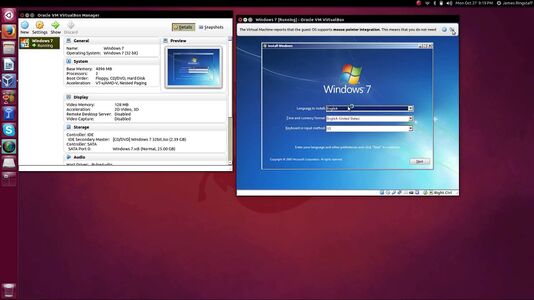
Virtual box offers a virtualized environment to run an operating system. The images to the right show Ubuntu Linux running in a Windows environment. Below that you can see Windows running in a Linux environment. We can virtualize any operating system within another and this is a very powerful tool which should become clearer as we progress through the unit. VirtualBox is just one of many approaches to doing this.
You can download VirtualBox at the link below, but if you are in the South St labs running windows this will already be done:
If you are working on your own computer, and you already have a Virtualisation tool such as VMware or Parallels, feel free to use that but understand that you will need to translate the Virtual box instructions below to your own software. Also if you have completed this exercise in the labs and would like to try something else on your home PC, feel free to do this. Experimenting is a great way to learn.
After you have installed Virtual box, you should download Ubuntu Linux image. Although pre-installed Ubuntu Virtualbox images exist, and this would be the most expedient approach, we will download a .iso file. These types of files are used to install an operating system from scratch and were historically burned onto a cd. Download from a local mirror:
- Perth: https://mirror.aarnet.edu.au/pub/ubuntu/releases/
- Singapore or Dubai http://download.nus.edu.sg/mirror/ubuntu-releases/
- Murdoch University South St: http://dnoc-isocache.murdoch.edu.au/Ubuntu/
Look for a file with a name like: ubuntu-18.04.3-desktop-amd64.iso
There are newer versions of Ubuntu than 18.04, with the name indicating it was released in April 2018. Ubuntu 18.04 is however, the version we use in the lab and is currently the "LTS" which stands for Long Term Support. Meaning that bug fixes and security patches are available for a longer period of time. LTS is often the choice for servers where stability and long term support are important.
We will now use this .iso image file to install the Ubuntu Operating System in Virtual box.
Start Virtualbox
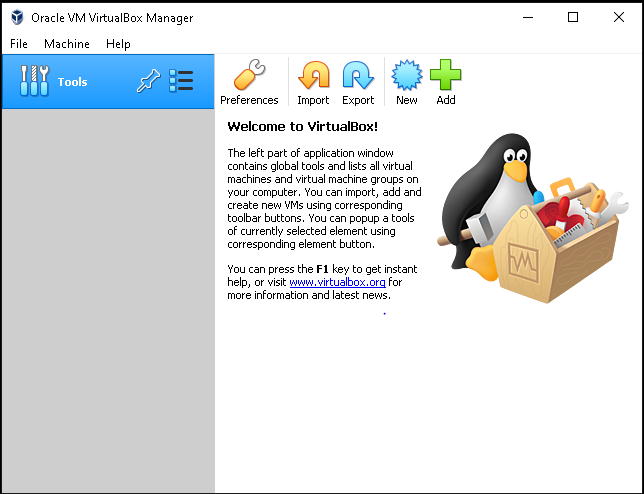
Start the VirtualBox program
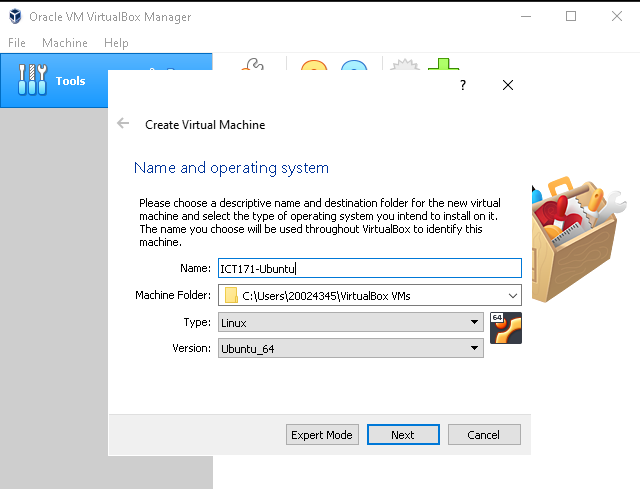
Call it ICT171-Ubuntu
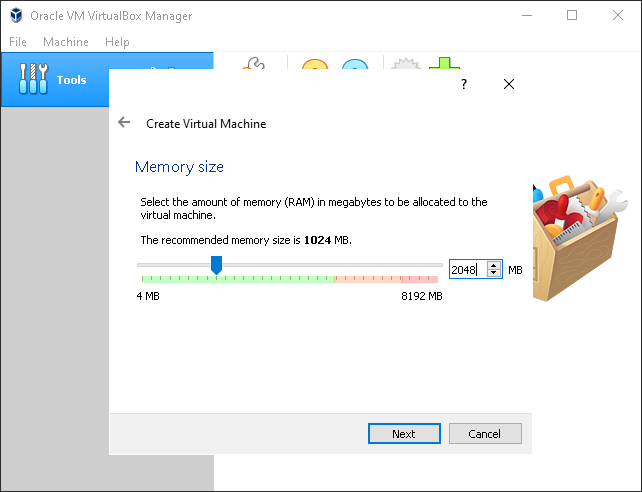
Choose 2048 GB Memory if you have enough to spare
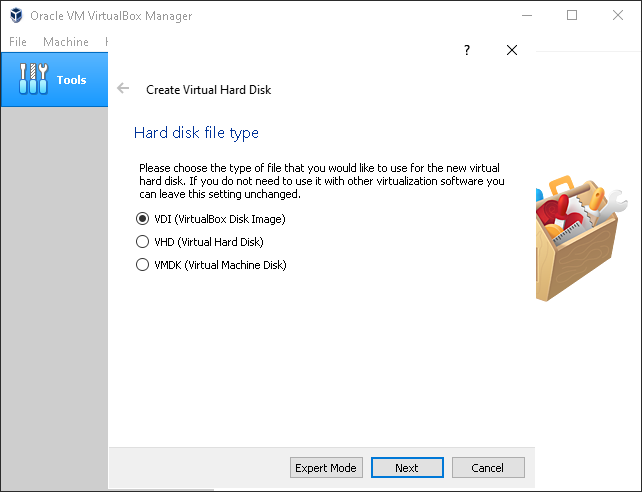
Follow the defaults as shown
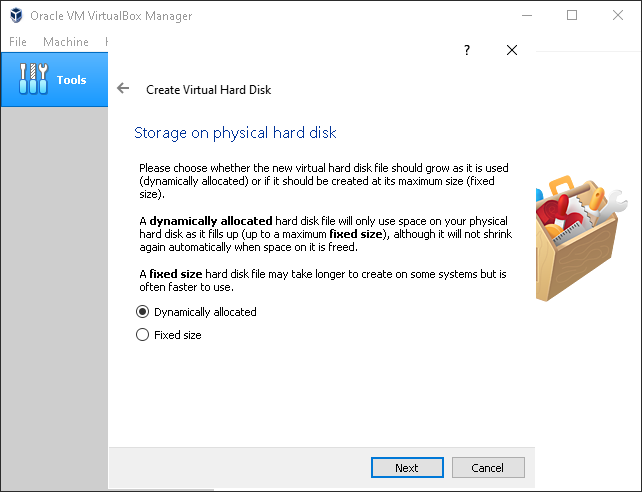
Follow the defaults as shown
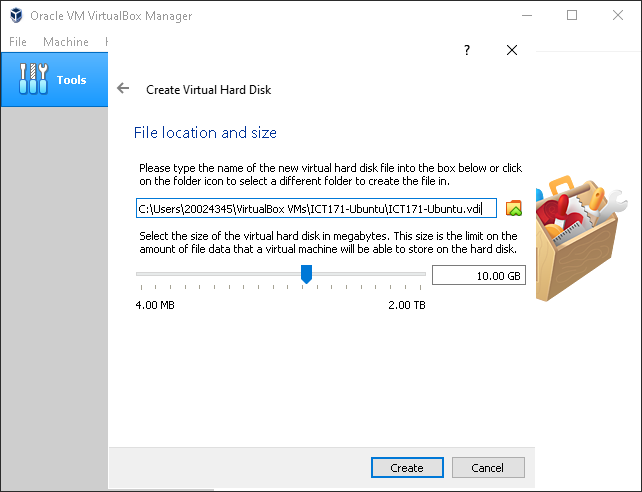
Follow the defaults as shown
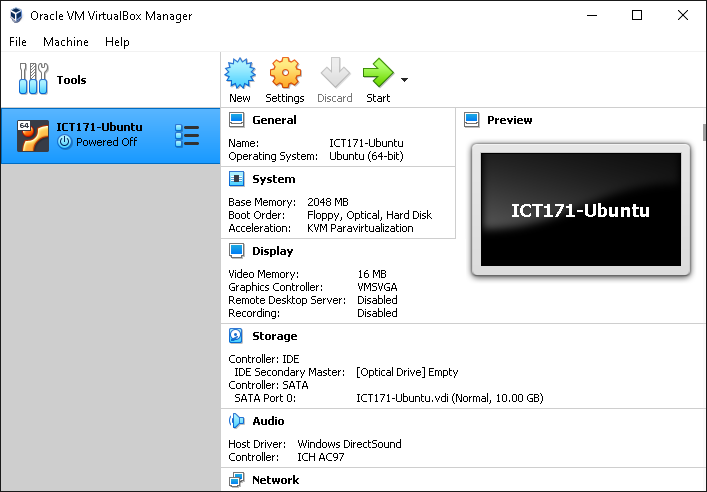
Click start to start the virtual machine
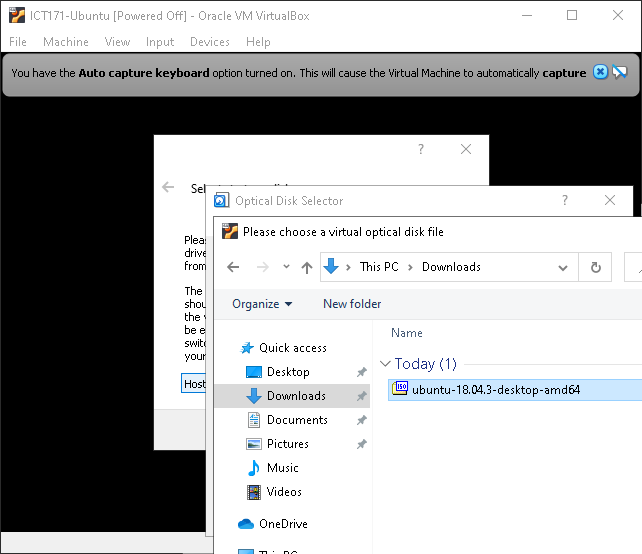
Virtual Box will tell you that you are starting a machine with no boot media, you need to point virtualbox towards your ubuntu .iso file so that it can boot from this. Not that what you are doing here is you are mapping the iso as a virtual cd drive.
Work through the installation of your Ubuntu Linux install
Yes, we are throwing you in at the deep end here! If you get stuck please make use of the forums and your tutor. That's what they are there for. Working through the problems and seeking assistance will get you there. Along the way, you'll be learning applied skills and a problem-solving approach that is essential for all IT professionals.
Next week you will start to learn the Linux command line and get a bit more proficient in operating it. Internal students who have only completed this in the labs are encouraged to have a go on their home machine.
External and Dubai/Singapore Students
In future weeks labs might refer to getting your lab partner to test or try to do something on your Linux machine. For you, you will be your partner. In all these cases, where we might say "get your lab partner to test your webpage" OR "get your partner to login via ssh into your Linux machine, you will need to do this from your native operating system (most likely this is Windows or MacOS).
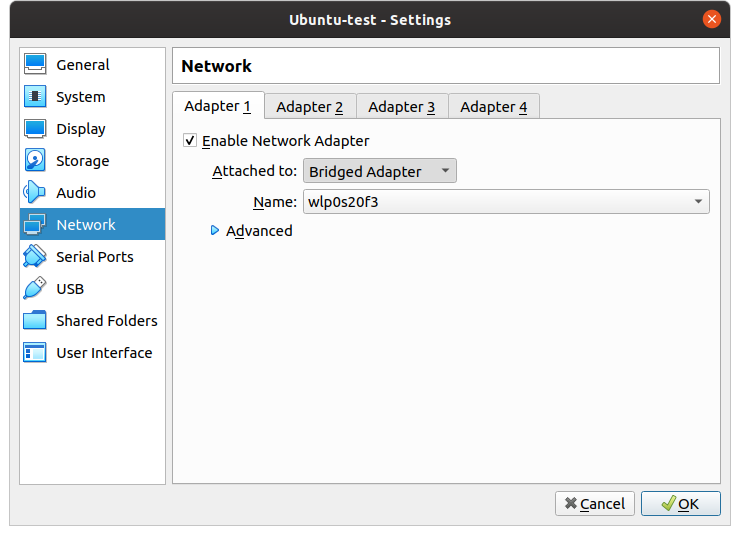
To do this we want your Linux Virtual machine's network interface to be accessible from your Windows or MacOS machine. To do this, you want to set the network adapter to bridged and select your network adapter which connects to the Internet. Please seek assistance from your tutor with this.

